안녕하세요.
요즘 안드로이드 앱 개발에서 널리 사용되고 있는 내비게이션을 통한 화면 이동 기능을 하단 내비게이션 탭과 함께 구현해 보겠습니다.
사용 언어: 코틀린
sdk version
- compile: 33
- min: 21
- target: 33
기본 설정부터 시작해 보겠습니다.
우선 build.gradle(:app)에 dependency를 설정해 줍니다.
dependencies {
...
implementation 'androidx.navigation:navigation-fragment-ktx:2.5.3'
implementation 'androidx.navigation:navigation-ui-ktx:2.5.3'
...
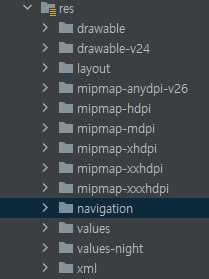
}그 다음 res 폴더를 오른쪽 클릭하여 New > Directory를 클릭하여 navigation 폴더를 생성합니다.
그리고 navigation 오른쪽 클릭 > New > Navigation Resource File을 선택한 후 이름을 정하고 OK를 클릭합니다.

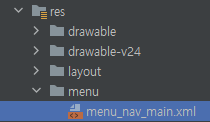
같은 방법으로 res 오른쪽 클릭 > New > Directory를 통해 menu 폴더 생성, navigation_menu.xml 파일 생성을 진행합니다.
이 파일에서는 bottom tab에 들어갈 메뉴 리스트를 설정합니다.
그 다음 내비게이션에 사용할 프래그먼트를 만들겠습니다.
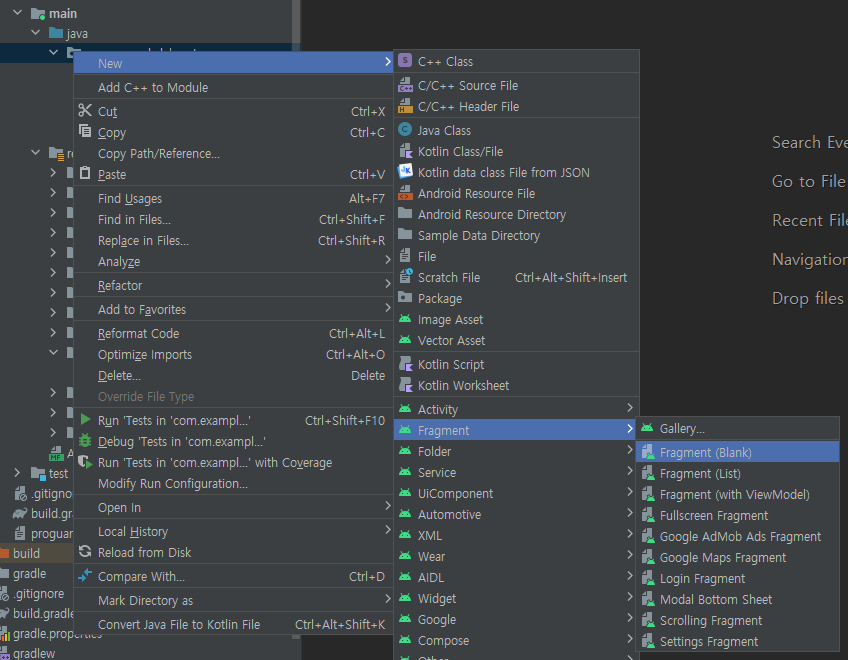
프래그먼트를 생성할 폴더를 오른쪽 클릭하여 프래그먼트를 생성합니다(figure4 참조).
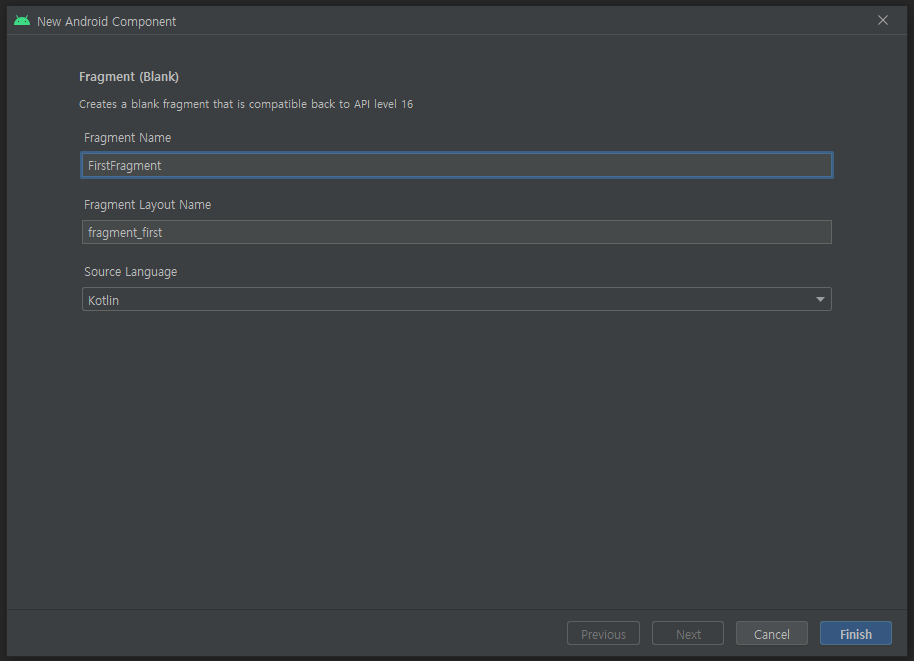
저는 이름을 FirstFragment로 짓고 Finish를 눌러주었습니다.

이렇게 두 번째 프래그먼트까지 생성해 줍니다(figure6 참조).
그다음, 차이를 명확하게 보기 위해 두 프래그먼트의 배경색과 텍스트 색을 반대로 해주었습니다.

fragment_first.xml
<?xml version="1.0" encoding="utf-8"?>
<FrameLayout xmlns:android="http://schemas.android.com/apk/res/android"
    xmlns:tools="http://schemas.android.com/tools"
    android:layout_width="match_parent"
    android:layout_height="match_parent"
    android:background="@color/black"
    tools:context=".FirstFragment">

    <TextView
        android:layout_width="match_parent"
        android:layout_height="match_parent"
        android:textColor="@color/white"
        android:text="Hello First Fragment"
        android:gravity="center" />

</FrameLayout>
fragment_second.xml
<?xml version="1.0" encoding="utf-8"?>
<FrameLayout xmlns:android="http://schemas.android.com/apk/res/android"
    xmlns:tools="http://schemas.android.com/tools"
    android:layout_width="match_parent"
    android:layout_height="match_parent"
    android:background="@color/white"
    tools:context=".SecondFragment">

    <TextView
        android:layout_width="match_parent"
        android:layout_height="match_parent"
        android:textColor="@color/black"
        android:text="Hello Second Fragment"
        android:gravity="center" />

</FrameLayout>
기본 준비를 마쳤습니다. 이제 본격적으로 내비게이션을 통한 이동을 구현해 보도록 하겠습니다.
메인 액티비티의 xml 파일에서 아래와 같이 NavigationContainerView와 BottomNavigationView를 추가합니다.
activity_main.xml
<?xml version="1.0" encoding="utf-8"?>
<androidx.constraintlayout.widget.ConstraintLayout xmlns:android="http://schemas.android.com/apk/res/android"
    xmlns:app="http://schemas.android.com/apk/res-auto"
    xmlns:tools="http://schemas.android.com/tools"
    android:layout_width="match_parent"
    android:layout_height="match_parent"
    tools:context=".MainActivity">

    <androidx.fragment.app.FragmentContainerView
        android:id="@+id/fragment_container"
        android:name="androidx.navigation.fragment.NavHostFragment"
        android:layout_width="match_parent"
        android:layout_height="0dp"
        app:defaultNavHost="true"
        app:navGraph="@navigation/nav_main"
        app:layout_constraintTop_toTopOf="parent"
        app:layout_constraintBottom_toTopOf="@id/bottom_navigation_tab"/>

    <com.google.android.material.bottomnavigation.BottomNavigationView
        android:id="@+id/bottom_navigation_tab"
        android:layout_width="match_parent"
        android:layout_height="wrap_content"
        android:background="@color/black"
        app:menu="@menu/menu_nav_main"
        app:layout_constraintTop_toBottomOf="@id/fragment_container"
        app:layout_constraintBottom_toBottomOf="parent" />

</androidx.constraintlayout.widget.ConstraintLayout>
bottom tab에 들어갈 메뉴를 설정합니다.
menu_nav_main.xml
<?xml version="1.0" encoding="utf-8"?>
<menu xmlns:android="http://schemas.android.com/apk/res/android">
    <item
        android:id="@+id/firstFragment"
        android:enabled="true"
        android:title="first"/>
    <item
        android:id="@+id/secondFragment"
        android:enabled="true"
        android:title="second"/>
</menu>
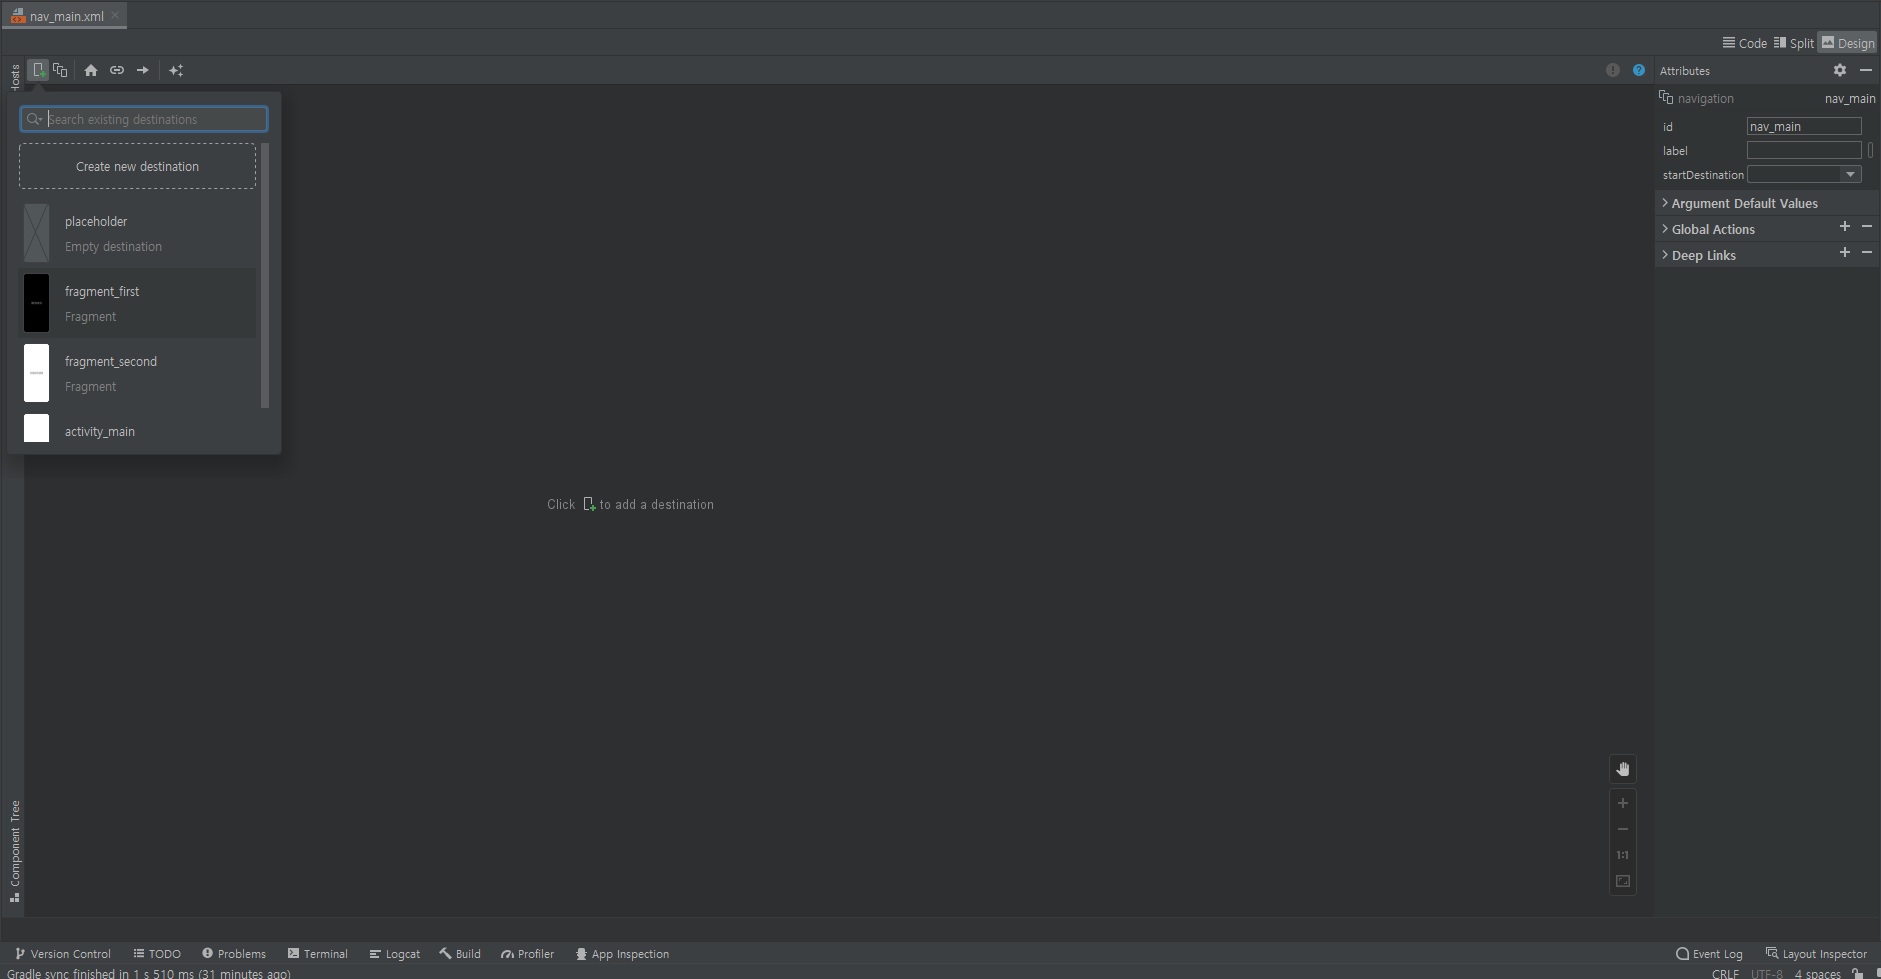
nav_main.xml(navigation 파일) Design 탭에서 프래그먼트를 추가합니다(figure8 참조).
이때, 첫 번째로 추가하는 프래그먼트가 홈 프래그먼트로 설정되어 액티비티가 시작될 때 처음 노출되는 프래그먼트입니다.
위의 과정을 진행했다면 코드는 아래와 같이 자동으로 생성됩니다.
nav_main.xml 코드 부분입니다.
<?xml version="1.0" encoding="utf-8"?>
<navigation xmlns:android="http://schemas.android.com/apk/res/android"
    xmlns:app="http://schemas.android.com/apk/res-auto"
    xmlns:tools="http://schemas.android.com/tools"
    android:id="@+id/nav_main"
    app:startDestination="@id/firstFragment">
    <fragment
        android:id="@+id/firstFragment"
        android:name="com.example.laboratory.FirstFragment"
        android:label="fragment_first"
        tools:layout="@layout/fragment_first" />
    <fragment
        android:id="@+id/secondFragment"
        android:name="com.example.laboratory.SecondFragment"
        android:label="fragment_second"
        tools:layout="@layout/fragment_second" />
</navigation>
Main Activity에 내비게이션 세팅을 추가하겠습니다.
MainActivity.kt
override fun onCreate(savedInstanceState: Bundle?) {
    super.onCreate(savedInstanceState)
    ...
    setBottomNav()
    ...
}

private fun setBottomNav() {
    val navHostFragment = supportFragmentManager.findFragmentById(R.id.fragment_container) as NavHostFragment
    val navController = navHostFragment.findNavController()
    val bottomNavTab = findViewById<BottomNavigationView>(R.id.bottom_navigation_tab)
    bottomNavTab.setupWithNavController(navController)
}
모든 작업이 끝났습니다. 이제 에뮬레이터에서 돌려봅니다.
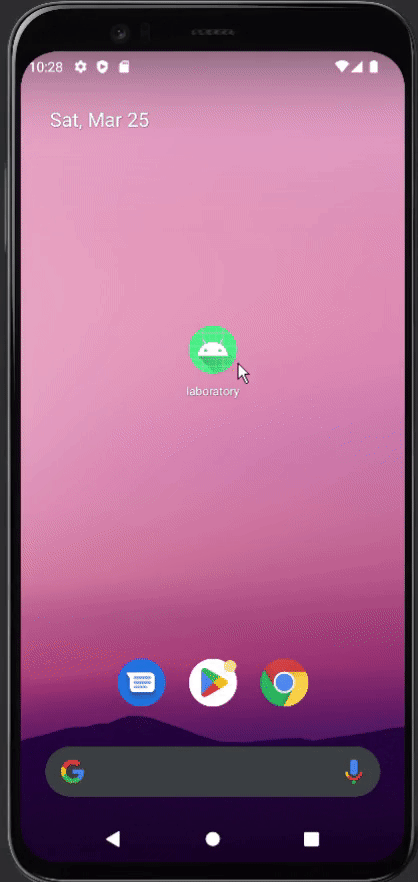
성공적으로 동작하는 것을 확인할 수 있습니다.
이상 포스팅을 마치겠습니다.
감사합니다.
'Android Application > 기초 사용법' 카테고리의 다른 글
| 안드로이드 데이터바인딩(dataBinding) 사용 (0) | 2023.03.29 |
|---|---|
| 안드로이드 뷰모델(ViewModel) 사용하기(with LiveData) (0) | 2023.03.28 |
| 안드로이드 ViewBinding(뷰바인딩) 구현 (0) | 2023.03.26 |
| 사용자 인터페이스 (User Interface) (0) | 2020.03.27 |
| 안드로이드 애플리케이션 (Android Application) (0) | 2020.03.26 |